Introduction
This tutorial helps you getting started with bringing your tensorflow models into your Android applications.
Recently, and slowly, tensorflow has been adding features and examples for using its models on Android and iOS. There are now three apps in the TensorFlow Android Camera Demo which show very cool computer vision examples. However, they all use models that are already prepared and packaged and don't explain much how to create a new one. So, I thought it would be nice to have a short tutorial on how to start with your own machine learning model and use it inside any Android application.
In this tutorial, we go through two parts: creating and preparing the tensorflow model, and accessing the model inside an Android app. Although it doesn't get deep into any machine learning or Android concepts, you need to have a basic knowledge of Python, Java, Tensorflow, and Android development to go follow this tutorial.
You need a working installation of tensorflow. I've tested these procedures on the recent v1.0 release of tensorflow, however, if you use older compiled libraries they work with v0.12 as well with minor changes. You can find the instructions on how to install tensorflow here.
Preparing the TF Model
First, we first create a simple model and save its computation graph as a serialized GraphDef file. After training the model, we then save the values of its variables into a checkpoint file. We have to turn these two files into an optimized standalone file, which is all we need to use inside the Android app.
Creating and Saving the Model
For this tutorial, we create a very simple Tensorflow graph that implements a small single-layer neural network with ReLU activations. We define four tensors: a 3-dimensional input tensor named I, a 3x2 weight tensor named W, a bias tensor named b, and an output activation tensor named O.
This network might seem too simple and lack an actual learning, but I think it is enough to demonstrate the point. I know I could have been more creative here ;)
Running the above piece of code will produce two files: first, it saves the TF computation graph in a GraphDef text file called tfdroid.pbtxt.
Next, it will do a simple assignment (which normally would be done through actual learning) and saves a checkpoint of the model variables in tfdroid.ckpt.
Freezing the Graph
Now that we have these files, we need to freeze the graph by converting the variables in the checkpoint file into Const Ops that contain
the values of the variables, and combining them with the GraphDef proto in a single standalone file.
Using this file makes it easier to load the model inside a mobile app.
Tensorflow provides freeze_graph in tensorflow.python.tools for this purpose:
Optimizing the Model File
Once we have the frozen graph, we can further optimize the file for inference-only purposes by removing the parts of the graph that are only needed during training. According to the documentation, these include:
- Removing training-only operations like checkpoint saving.
- Stripping out parts of the graph that are never reached.
- Removing debug operations like CheckNumerics.
- Folding batch normalization ops into the pre-calculated weights.
- Fusing common operations into unified versions.
Tensorflow provides optimize_for_inference_lib in tensorflow.python.tools for this purpose:
Take note of the input nodes and output nodes in the above code. Our graph only has one input node named I, and one output node named O. These names correspond to the names you use when you define your tensors. You should adjust these based on your graph in case you are using a different one.
Now we have a binary file called optimized_tfdroid.pb. Now we are ready to build our Android app.
Creating the Android App
We need to get the tensorflow libraries for Android, create an Android app and configure it to use these libraries, and then invoke the tensorflow model inside the app.
Getting the TF Libraries
Although you can compile the Tensorflow libraries from scratch, it's easier to use the prebuilt libraries that are provided in nightly android builds.
For this tutorial, I'm using the lastest successful build at the time of this writing, Build #44 (Feb 17, 2017 12:05:00 AM), which you can download from:
https://ci.tensorflow.org/view/Nightly/job/nightly-android/44/artifact/
Inside the nightly android builds, will find the installable package (.apk) for the official demo apps, the Java library (.jar), and the native shared libraries (.so) for different architectures.
Creating an Empty APP
I used Android Studio to create an Android project with an empty activity.
Add the TF Libraries to Your Project
Once you have all the output artifacts from the nightly build, you need to add some of them to your project and let your build system know that you are going to use them. For this example, these include the Java and libtensorflow_inference native library.
Copy the libandroid_tensorflow_inference_java.jar and the architecture folders inside of the libtensorflow_inference.so folder to app/libs/. The libs/ folder should look like:
libs
|____arm64-v8a
| |____libtensorflow_inference.so
|____armeabi-v7a
| |____libtensorflow_inference.so
|____libandroid_tensorflow_inference_java.jar
|____x86
| |____libtensorflow_inference.so
|____x86_64
| |____libtensorflow_inference.so
You need to let your build system know where these libraries are located by putting the following lines inside of the android block in app/build.gradle:
Copying the TF Model
Create an Android Asset Folder for the app and put the optimized_tfdroid.pb
that we just created inside (app/src/main/assets/).
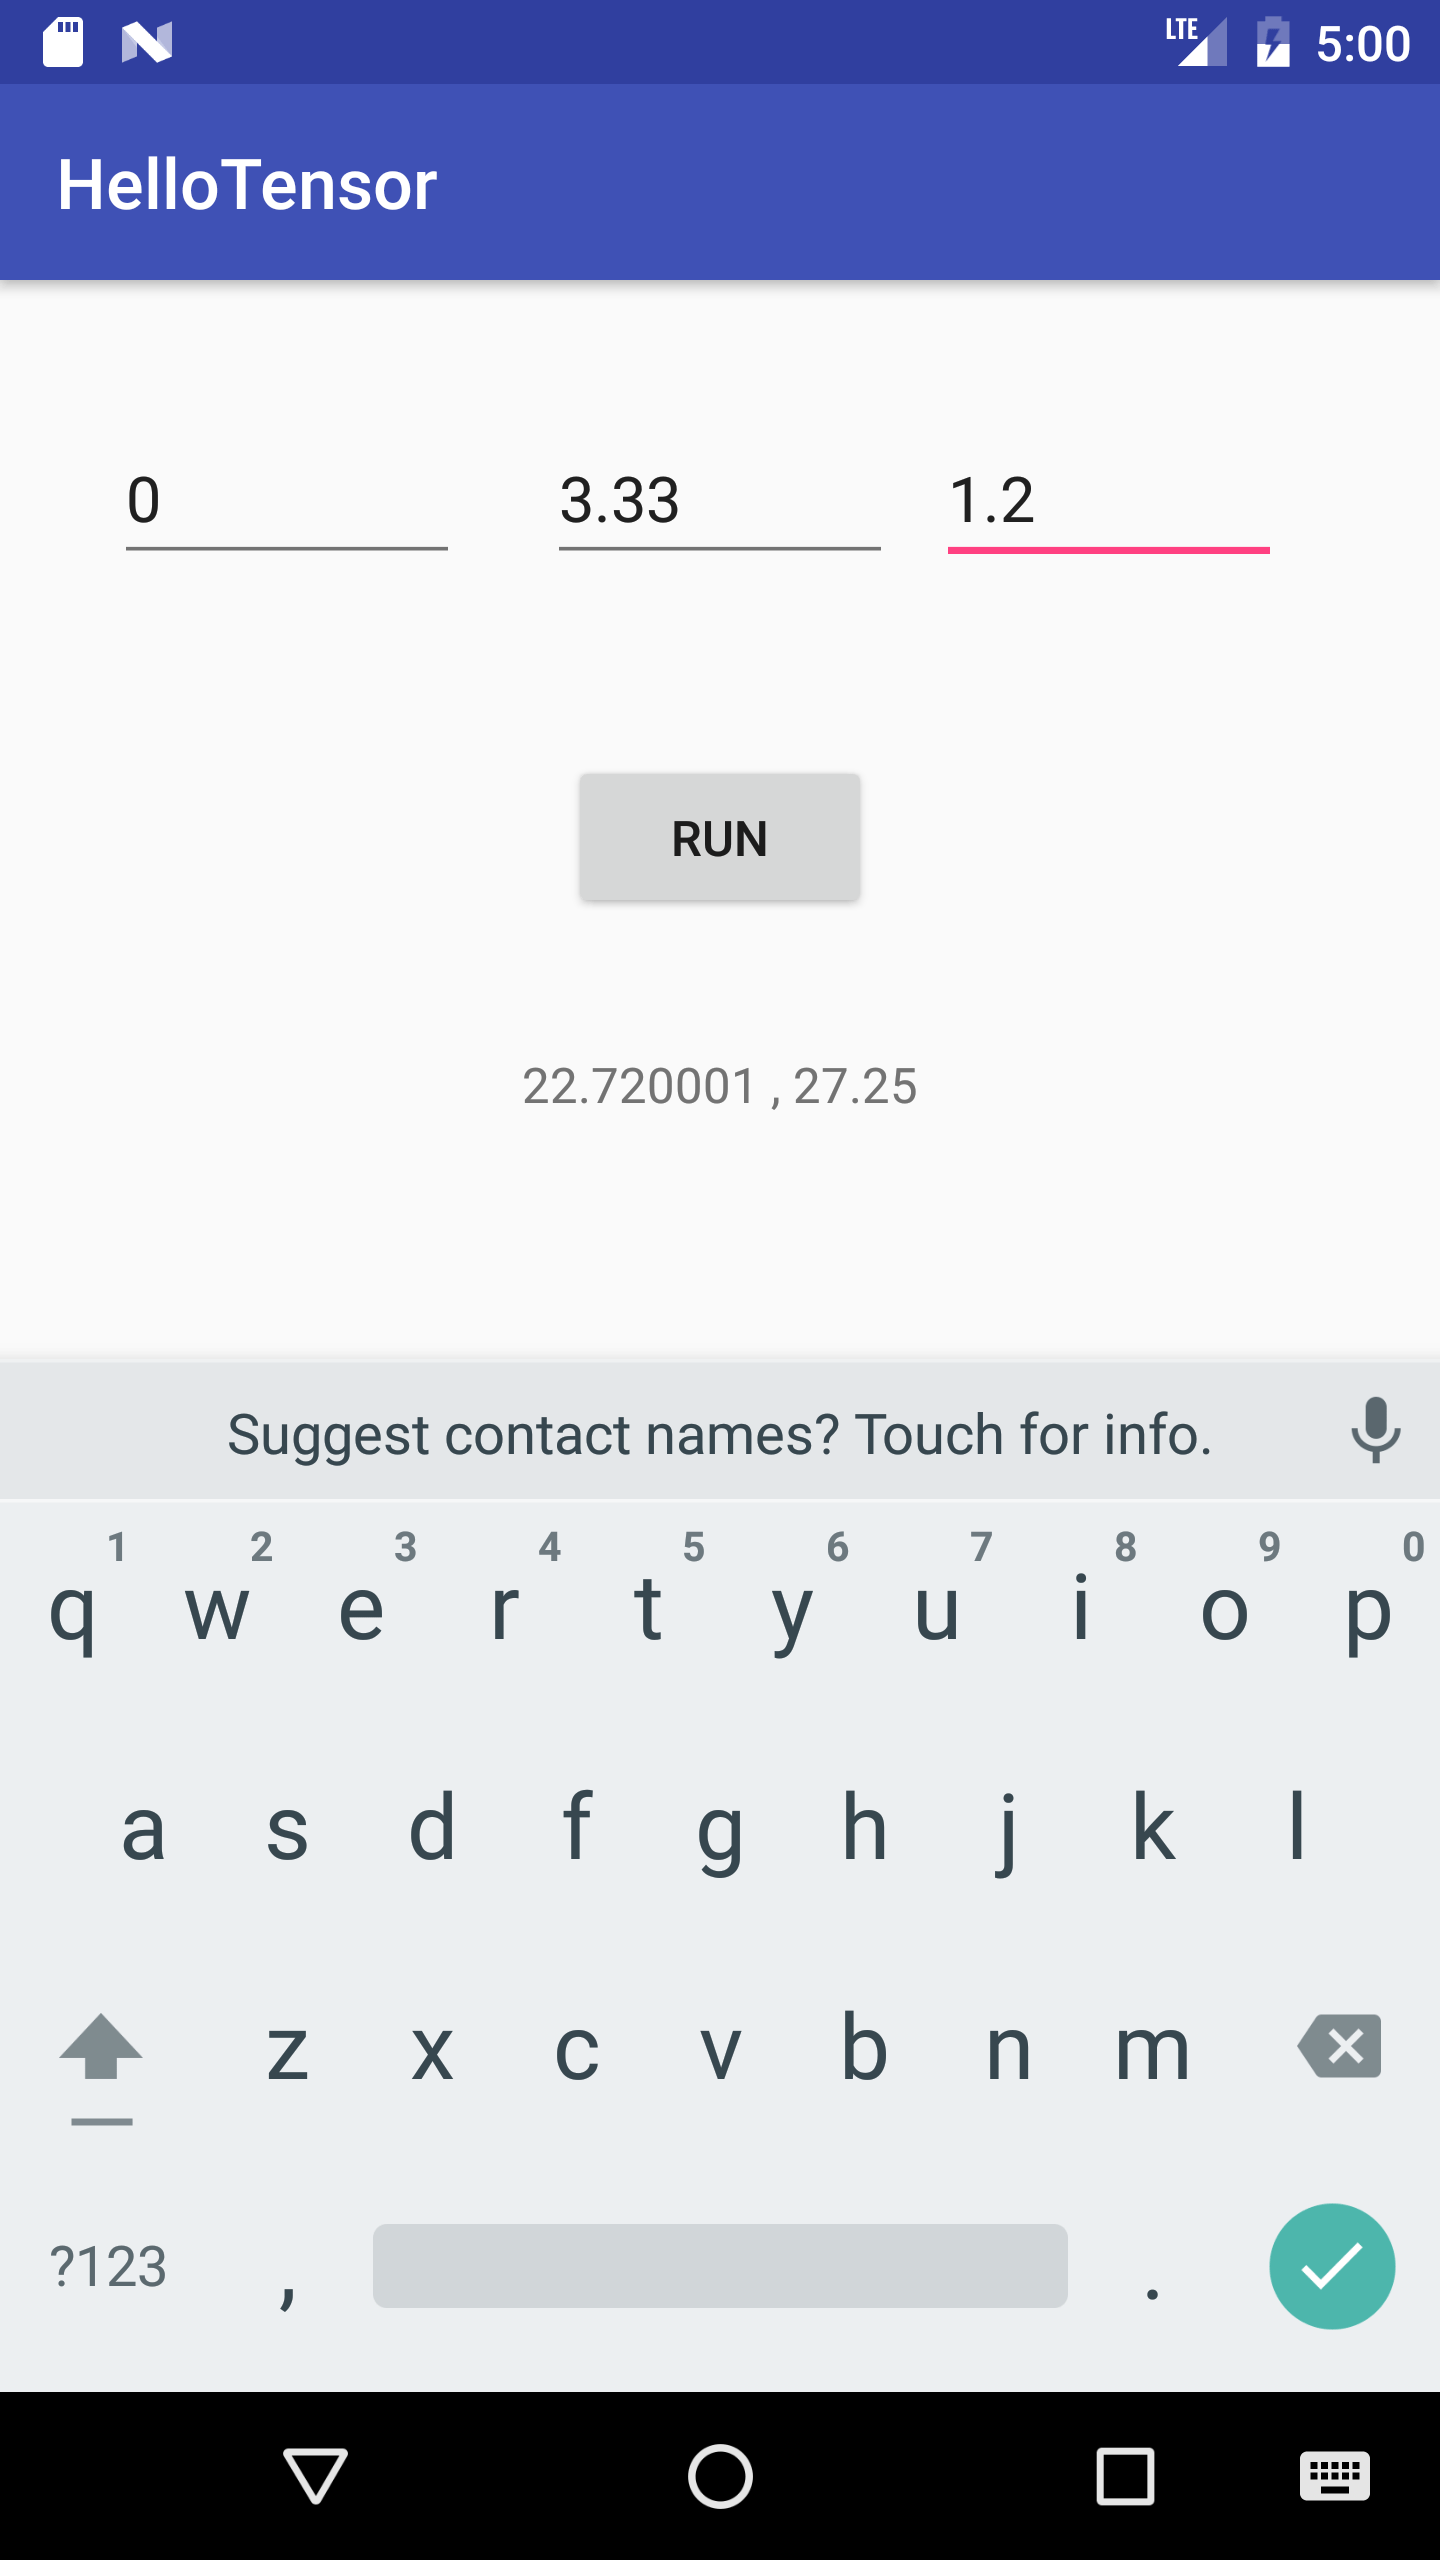
Add Some GUI
We can add some basic GUI so that we can enter different numbers as input. Here is what it could look like:
Accessing the TF Inference Interface
Inside of the MainActivity.java, we first import the TensorFlowInferenceInterface package:
And load the tensorflow_inference native library:
We use some constants to specify the path to the model file, the names of the input and output nodes in the computation graph, and the size of the input data as follows:
And create a TensorFlowInferenceInterface instance that we use to make inferences on the graph throughout the app:
We then initialize the inferenceInterface it and load the model file inside of the onCreate event of the MainActivity:
Now we are ready to perform an inference anywhere in the app.
Perform Inference
We perform inference by first filling the input nodes with our desired values (as we would do with feed_dict in Python):
And calling the runInference() method for the OUTPUT_NODE (similar to sess.run()):
Once the inference is done, we can read the value of the output node:
Complete Srouce Code
You can look at/download/clone/fork the complete working example for the Android app here on Github.
The code snippets for creating and preparing the model can also be found here.
Comments